Alright, so what are kitchpaps? It is this crazy delicious crunchy snack mix that is the perfect combinations of salty, spicy and sweet. It literally tingles every tastebud in your mouth.
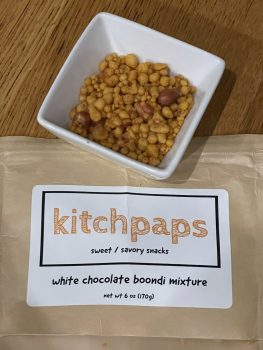
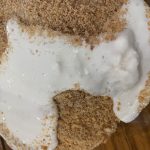
kitchpaps snack mix white chocolate boondi
This snack mix combines boondi (fried chickpeas), caramelized white chocolate and peanuts with chili powder, cumin and salt. So to add a littles sweet heat to my graham crackers crust I added some of this snack mix in. It almost reminded me of a gingersnap crust which pairs well with pumpkin . It makes it the perfect crust for these no bake mini pumpkin cheesecakes.
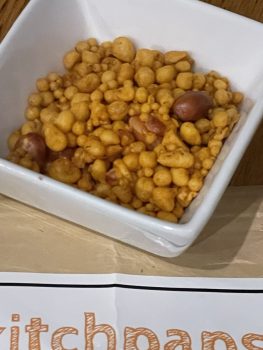
kitchpaps snack mix white chocolate boondi
These little cheesecakes are so easy to make and add a little flair to routine pumpkin cheesecake seen at every holiday table. Stand out this year and give this recipe a try.
Check out the kitchpaps website for the story behind the mix or to place an order.
No Bake Mini Pumpkin Cheesecakes with Kitchpaps Crust
Course:
Dessert
Servings: 6Mini Cheesecakes
Ingredients
18ozBlock Cream CheeseSoftened
115 oz canSweetened Condensed Milk
116 oz canCanned Pumpkin Puree
1tspPumpkin Pie Spice
3/4cupCrushed Graham Crackers
18 oz tubWhipped ToppingThawed
1/4cupKitchpaps Snack mix
Instructions
Instructions
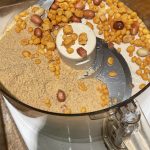
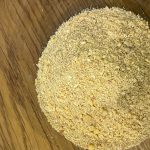
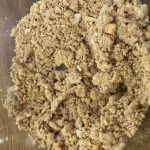
Add 3/4 cup crushed graham crackers and 1/4 cup Kitchpaps snack mix to food processor and pulse till combined. Ingredients may also be crushed together in a resealable plastic baggie.
Add crushed crust mixture to bowl and set aside
Place softened cream cheese in mixing bowl. Beat until smooth and fluffy.
Add sweetened condensed milk and beat until all ingredients are well incorporated.
Remove 2 tablespoons of of cream cheese mixture and add it to the graham cracker crumb mixture.
Mix in well until a crumbly crust forms. Set aside
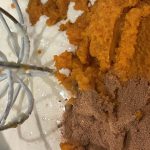
Add canned pumpkin and pumpkin pie spice to the cream cheese mixture.
Mix until smooth and creamy.
Assembling the Cheesecakes
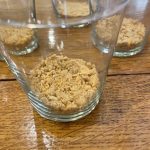
Add 1/4 cup crumb mixture to each serving cup and tamp down.
Top with a 1/2 cup of pie filling.
Chill 2-3 hours or overnight before serving.
Top with whip topping. Garnish with additional kitchpaps and white cholocalte chips if desired. Keep refrigerated.
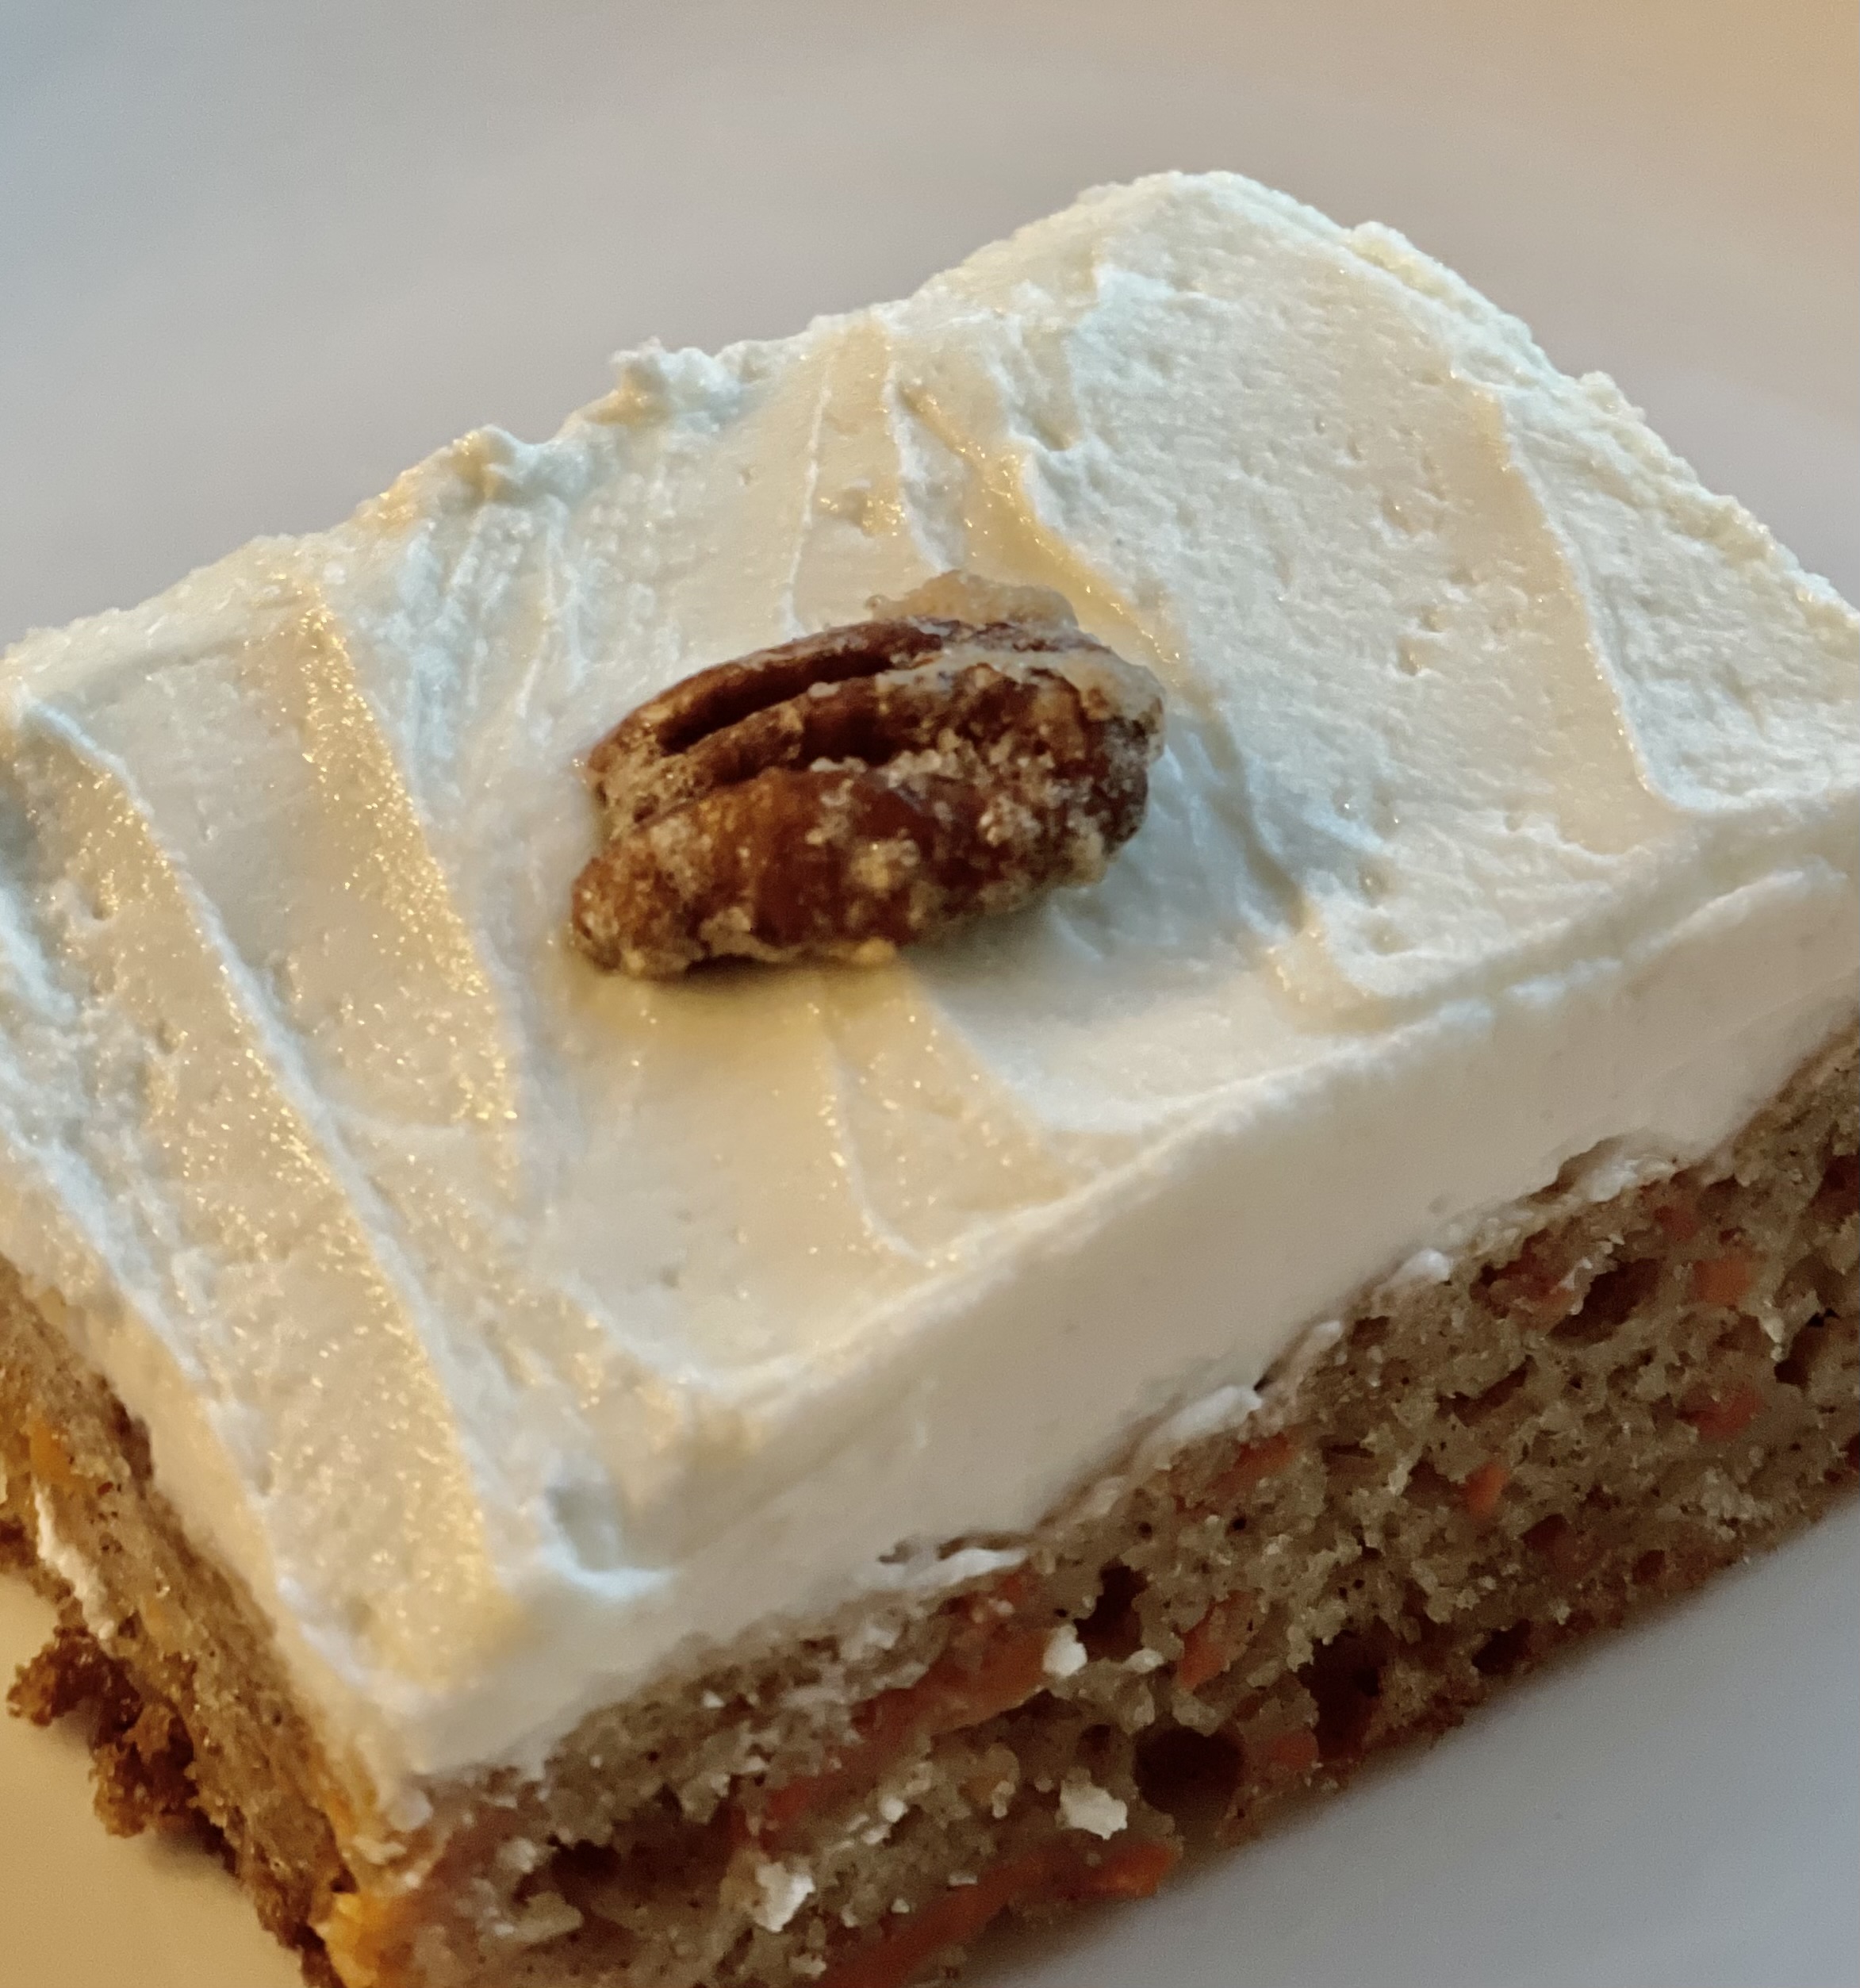
1. Method for cake: Pre-heat oven to 350 degrees. Place all ingredients in large mixing bowl and mix well until all ingredients are incorporated and becomes a thick batter. Place in greased 9×13 baking baking dish. Bake 45-60 minutes. Let cake cool completely before frosting.
2. While cake is baking prepare frosting
3. Method for frosting: Take 12 ounces of yogurt cream cheese and place in mixing bowl
4. Add powdered sugar, 1 tsp vanilla and milk. Beat with stand up mixer or hand beater until smooth.
5. Store in refrigerator until ready to use.
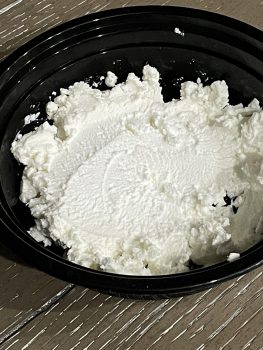
6. Straining Yogurt Technique: Equipment and Ingredients 4 Six Ounce Containers of Thor’s Skyr Plain Yogurt. Cheesecloth, Strainer, Deep Bowl. Method: Line strainer with cheesecloth. Pour yogurt into cheesecloth. Pull up cheesecloth around yogurt. Place strainer over a mixing bowl to catch liquid (a salad spinner can work good as it is a strainer and bowl in one.) Place in refrigerator and let set for two – three days. 24 ounces yogurt will yield 12- 15 ounces strained. The longer it sits the less it yields as more liquid will be released. Once desired firmness is obtained remove yogurt from cheesecloth and store in container and use as desired. Keep in mind to check the expiration date of the container before transferring onto the cheesecloth as use by date will remain the same. Place a paper towel in storage container if yogurt starts to lose the desired firmness.
7. Once cake is cooled completely, frost as desired. Serve immediately.
8. Store leftovers in refrigerator as the yogurt frosting is a milk product.
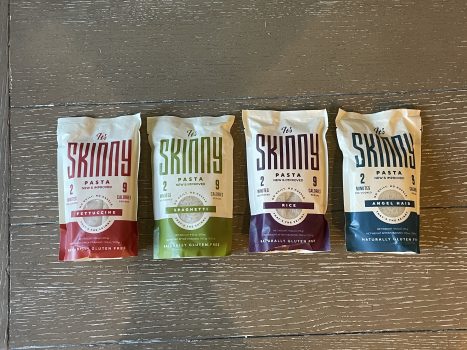
I have to tell you I am obsessed with these konjac noodles by It’s Skinny. Konjac is actually a root but still low in carbs. I am not sure how they make them, but they can used to replace any noodle in other dishes. With only 2 carbs and 9 calories you going to be eating pasta like never before!
They come in a variety of shapes so go ahead and try them in place of the pasta, rice or noodles in your favorite dish. I. promise you won’t be able to tell the difference!
It’s Skinny Noodles
For a 15% discount use code: SHARMIN15 anytime you order. In addition, at the time of this posting, October 26th and through the end of the Month October 31st, 2022. It’s skinny will be offering 20% off on all of products. With my 15% discount code added that is 35% off (20% + 15% = 35%). Shop all the shapes on It’s Skinny website.
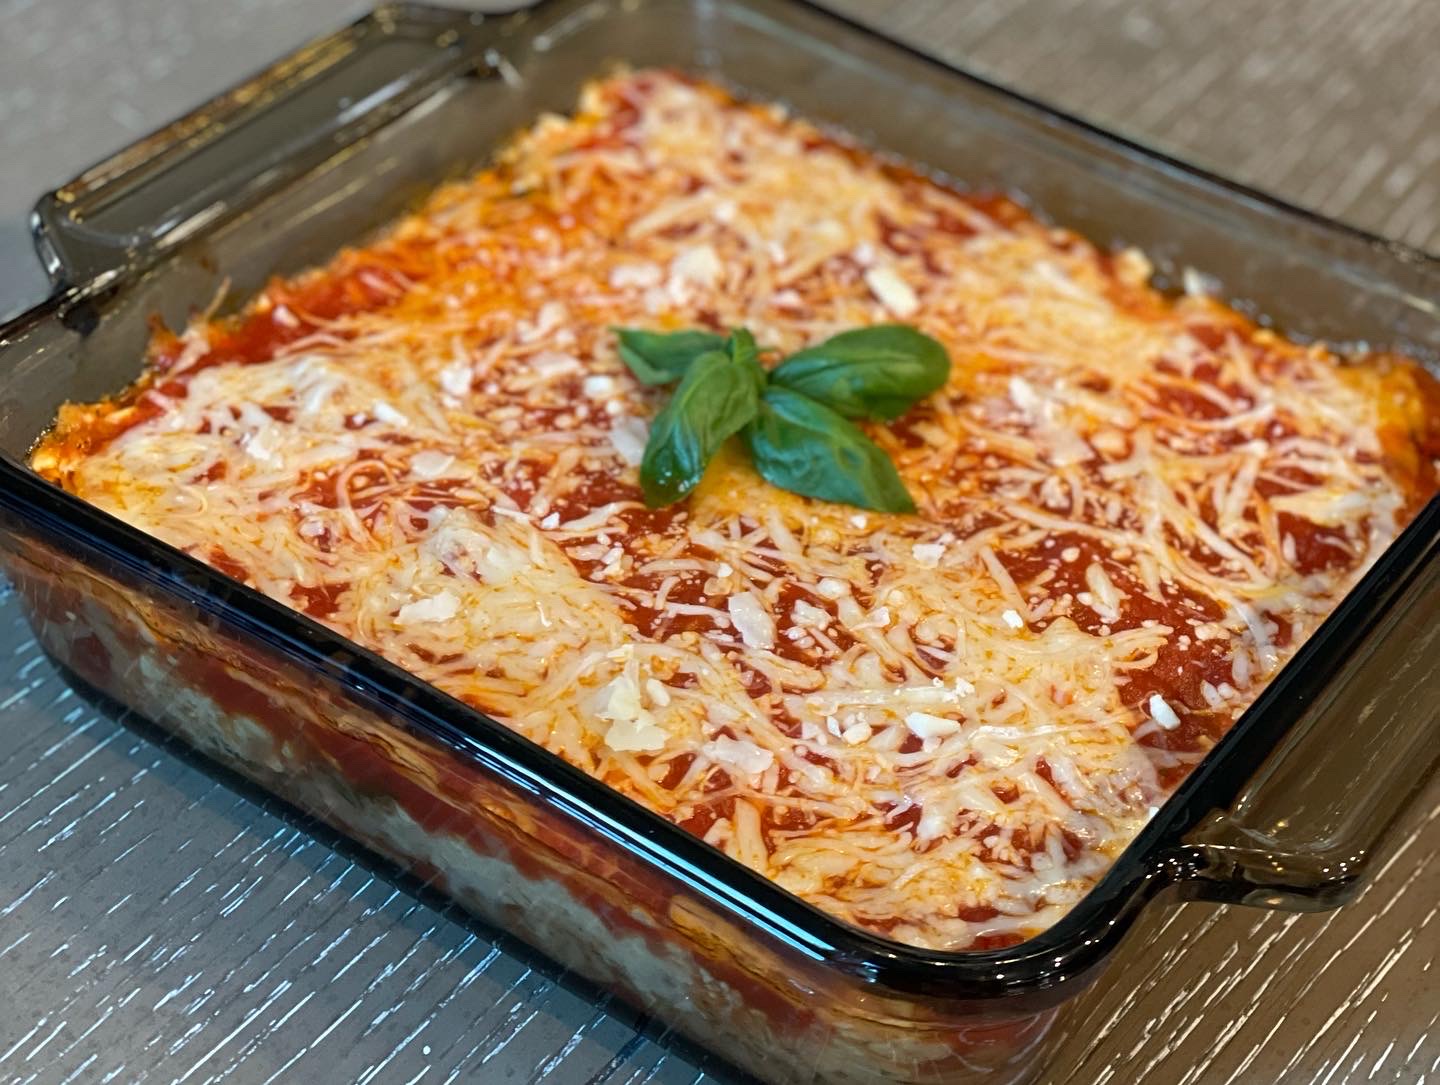
This lasagna has all the flavors of the classic dish with way less calories, fats and carbs! And best of all this dish makes two servings so the portion is huge! You won’t leave the dinner table hungry after this meal!
Please feel free to reach out via email should you have any questions about the recipe or leave a comment below.
Ingredients
1 package It’s Skinny Fettuccine
1 lbs 90% lean ground beef
1 tbsp Italian seasoning
2 cloves fresh garlic, pressed
1 cups low-fat cottage cheese
3 tbsp liquid egg whites
2 wedges Laughing Cow light cheese
4 tbsp fresh chopped basil, divided
1/2 cups fat free mozzarella cheese
1 cups pasta sauce of choice
1 cups canned diced or crushed tomatoes
2 tbsp fresh grated Parmesan cheese
Directions
1. Place ground beef in skillet. Cook until done. Drain and blot remaining grease out with paper towel. Measure out 6 ounces in small bowl and set aside.
2. Drain It’s Skinny fettuccine noodles and place on cutting board. Chop noodles into bite size pieces and add to ground beef mixture. Mix well and place in clean skillet.
3. Add Italian seasoning, fresh pressed garlic and 1 cup canned tomatoes. Toss together on medium heat until warmed through. Remove from heat, toss in fresh basil and set aside
4. In separate bowl mix together cottage cheese, egg whites and Laughing cow wedges and set aside.
5. In 8×8 baking dish, add the meat and noodle mixture spreading evenly over bottom of baking dish. Next layer the cheese mixture spreading evenly over the meat mixture.
6. Top with 1 cup pasta sauce. Sprinkle mozzarella cheese over top.
7. Bake at 375° for 20-25 minutes until cheese is melted and sauce is bubbly.
8. Remove from oven. Let set 5 minutes. Sprinkle top with remaining fresh basil and fresh grated Parmesan.
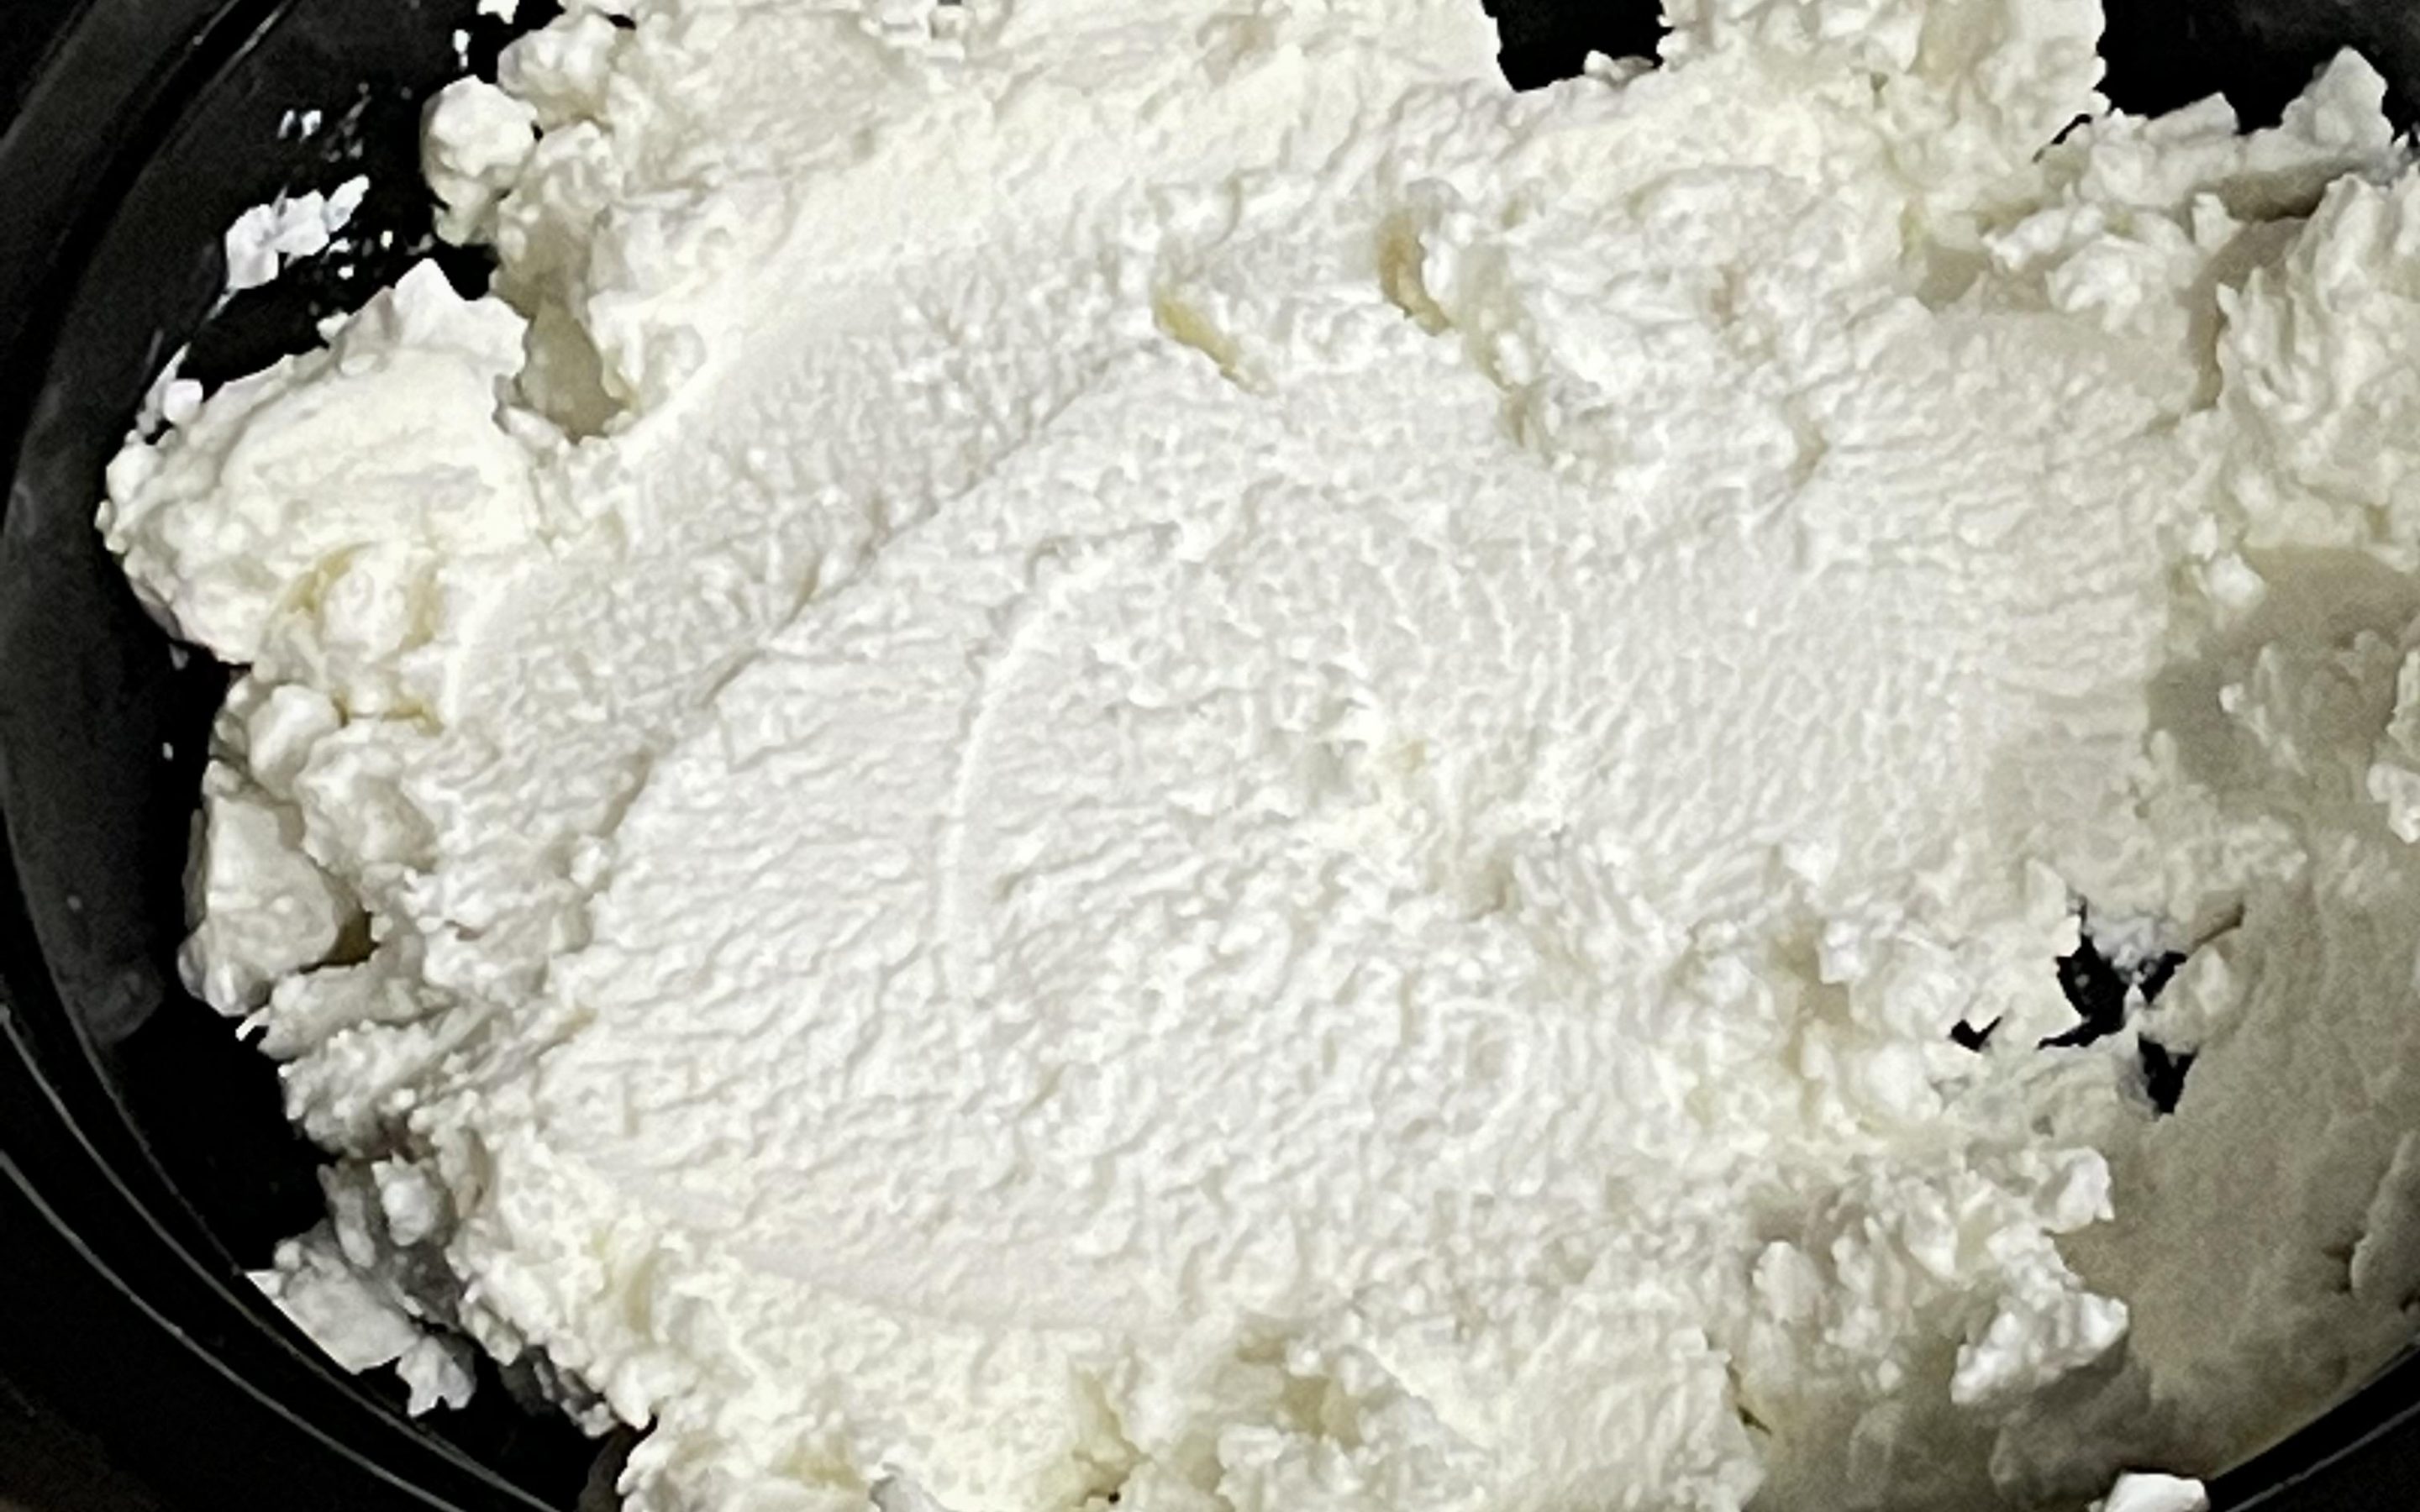
Making cream cheese out of yogurt saves fat grams in any dish that uses cream cheese.
Details are below on how easy it is to make. Then use it any recipe that calls for cream cheese.
Using the Skyr style yogurt works best as it is naturally thicker than Greek or regular yogurt. You can also use flavored yogurts if you are wanting a flavored cream cheese.
I use this to make a low-fat cream cheese frosting. That I spread over carrot cake. I am also working on a cheesecake recipe so stay tuned for that.
Did you know you can make cream cheese out of yogurt just by straining it? The process takes a couple days so you need to plan ahead. But it is worth to save calories and fat grams. What a way to lighten up those dishes that use cream cheese. Even full fat yogurts have less fat than the reduced fat cream cheese. See below on the technique for getting a rich cream cheese with out all the fat!
Author: Sharm
Ingredients
24ouncesSkyr style yogurt
Instructions
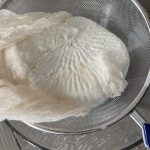
Line strainer with cheesecloth.
Pour yogurt into cheesecloth
Pull up cheesecloth around yogurt
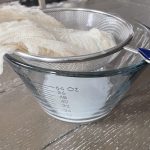
Place strainer over a mixing bowl to catch liquid
(a salad spinner can work good as it is a strainer and bowl in one)
Place in refrigerator and let set for two – three days
24 ounces yogurt will yield 12- 15 ounces strained. The longer it sits the less it yields as more liquid will be released.
Once desired firmness is obtained remove yogurt from cheesecloth and store in container and use as desired. Should stay fresh for about a week.
Line storage container with paper towel to continue to absorb excess moisture
You can’t be from Kansas City and not be a fan of burnt ends. It doesn’t matter if you fancy Jack, Joe, Arthur or Gates, which you will need to be from KC to get that refrence, they are a staple in realm of Kansas City barbecue. A delicacy not to be missed.
My go to is Jackstack, I mean along with the amazing barbecue, who can top that cheesy corn bake when looking for the full barbecue meal.
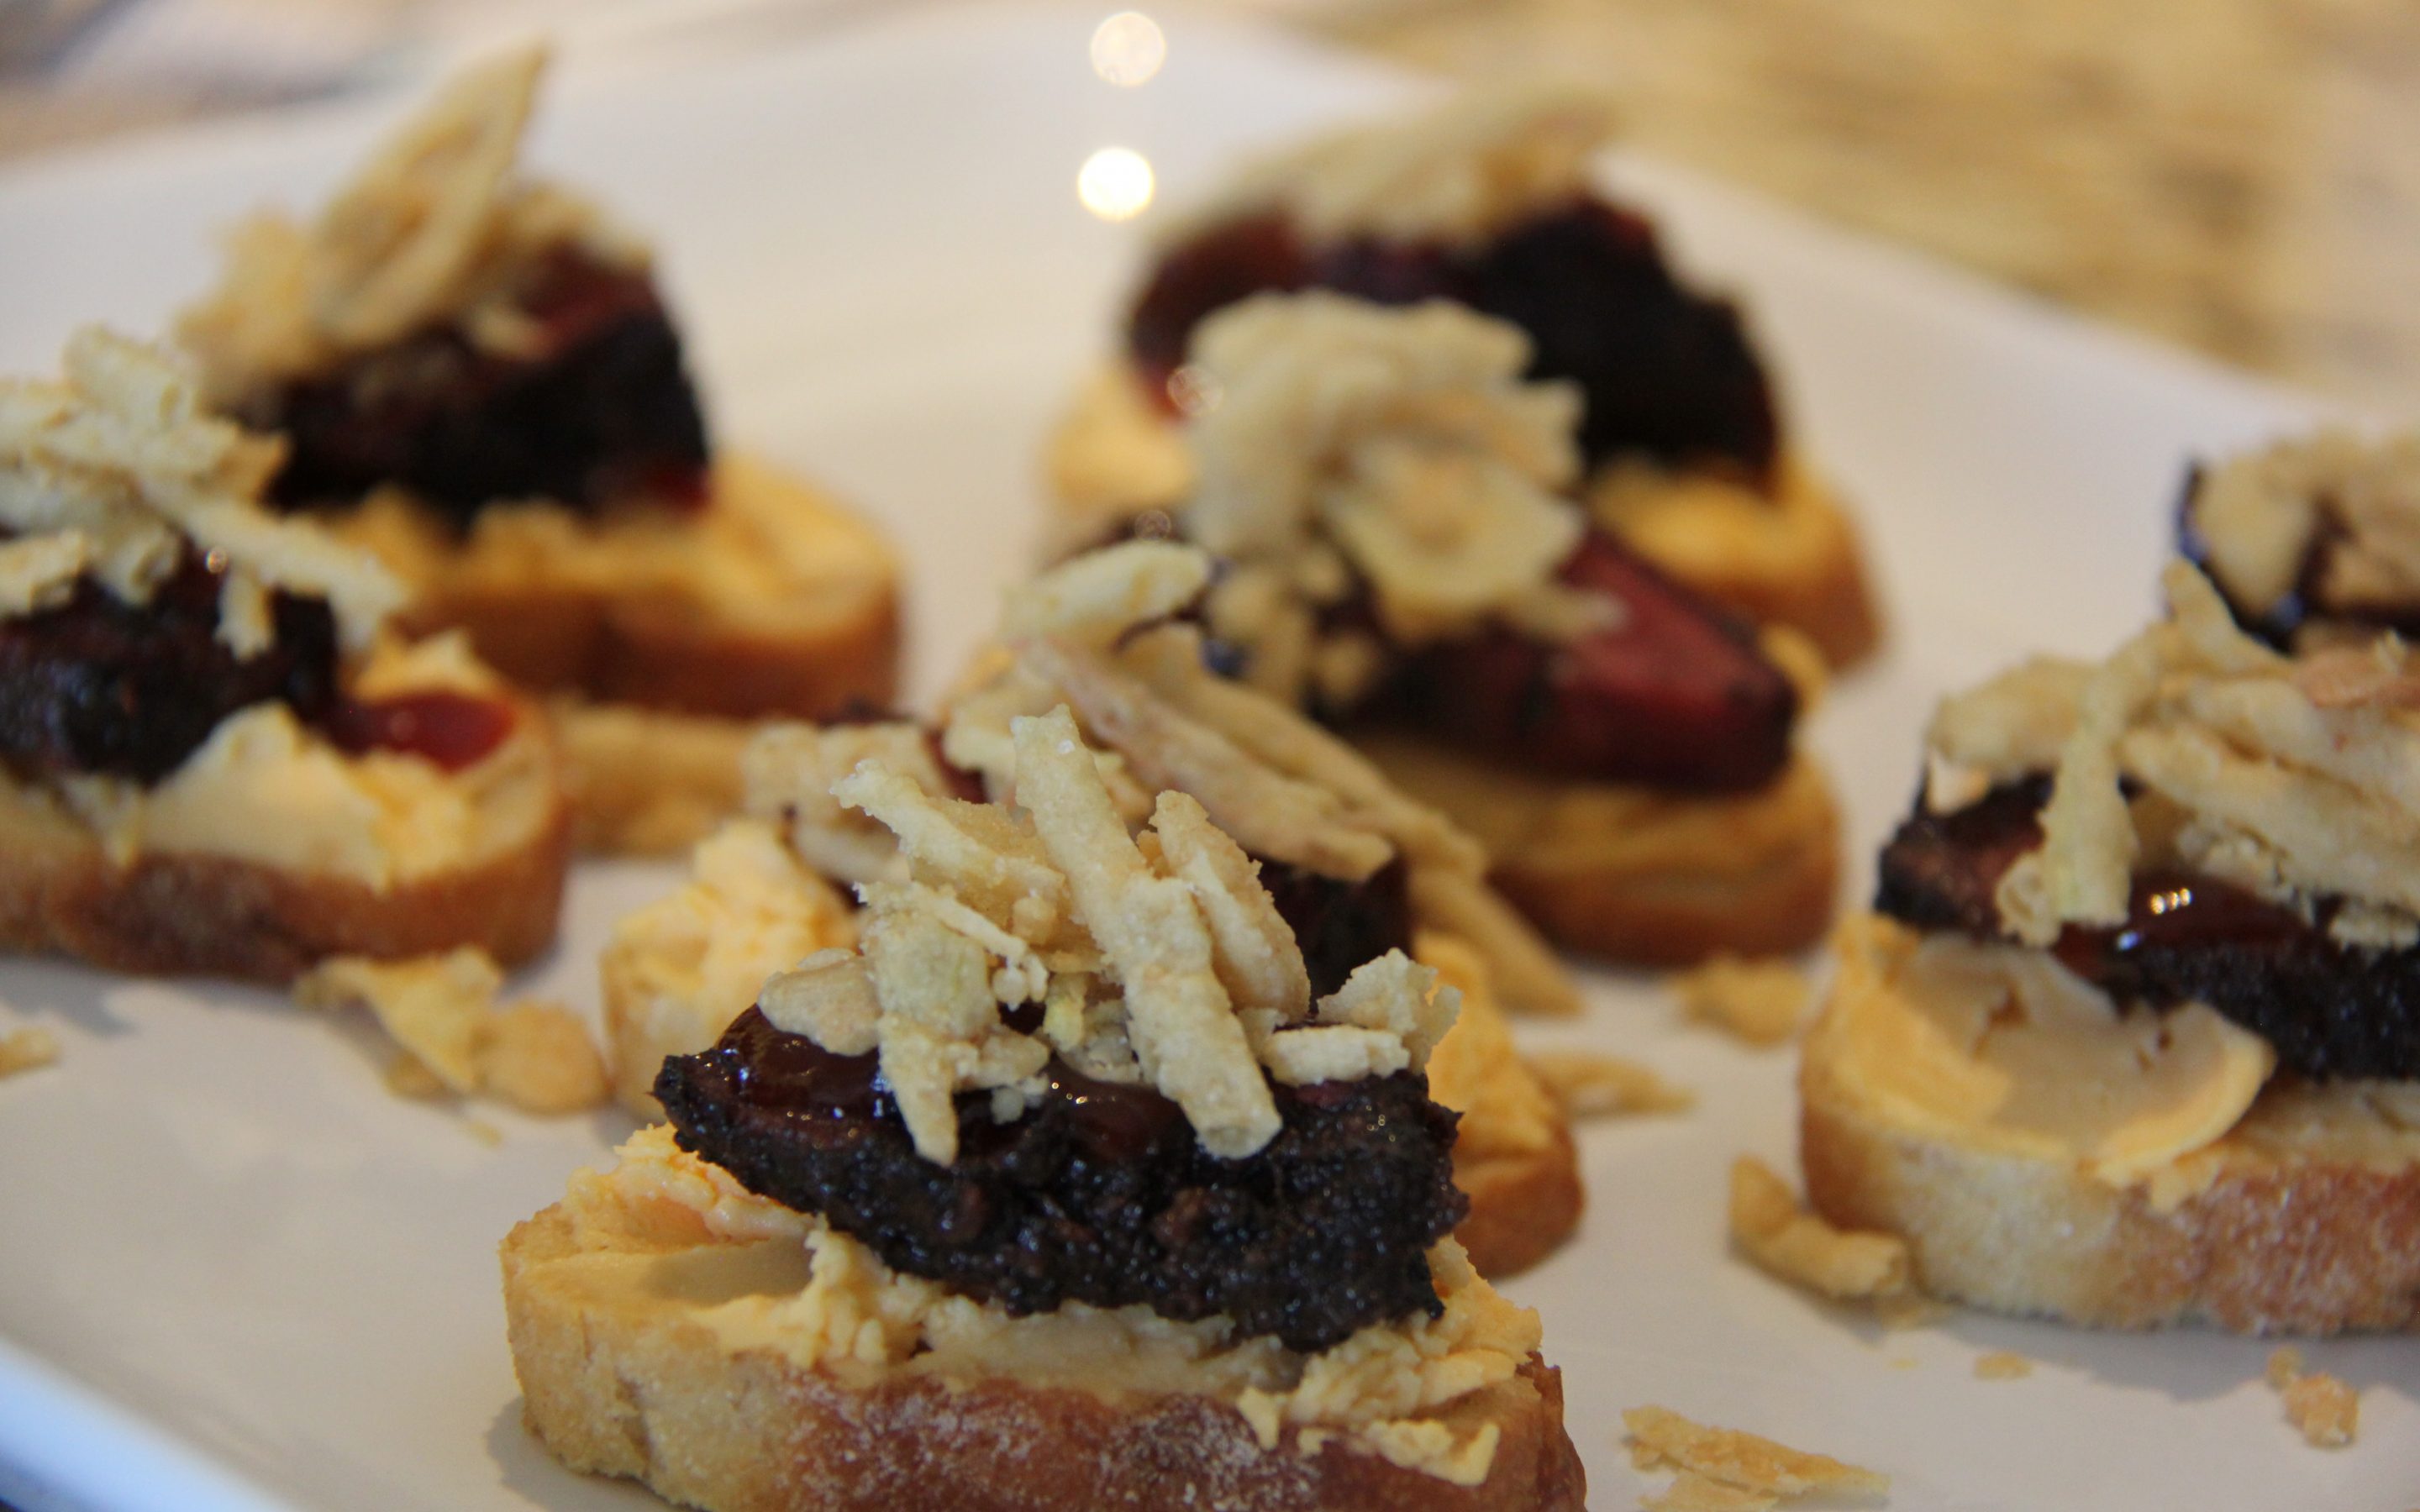
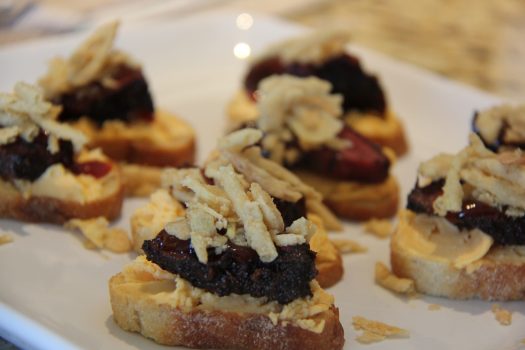
Whether you get your burnt ends from your favorite barbecue spot, make your own, find them in the grocery store or have Jackstack ship you some, grab a pound of them and impress your guests! This barbecue crostini recipe is a bite sized delight!
Preheat oven to 400 degrees. Slice baguette into 24 thin slices. Brush both sides of the baguette slices with olive oil and place on baking sheet. Bake at 400 degrees for 7-9 minutes.
Remove crostinis from oven and let cool.
Remove burnt ends from package and heat thoroughly. Slice each burnt into a few bite size slices.
Assemble crostinis by spreading one tablespoon of cheddar spread over crostini. Top with piece of slice burnt end. Drizzle with a small amount of barbecue sauce. Top with a few fried onions.
Recipe Notes
Pre-made crostinis can be found in the cracker isle or specialty cheese department at your local grocery store.
These can also be made into full size sandwiches. Slice baguette into 4 equal sections and slice in half. Toast halves and assemble one half in the same fashion as the crostini. Top with remaining half. Makes 4 sandwiches.
When I got an email to review this book, I was most interested as it is labeled to be a diabetic friendly cookbook. With both a father-in-law and a niece who suffer from diabetes, I am always on the lookout for recipes I can make for them when they visit. So when I got the opportunity to take a look at this book, I couldn’t resist.
You Can Have It Cookbook
Although, this cookbook is labeled diabetic friendly, everyone will enjoy the recipes. I have had a great time thumbing through the pages. It seems most of the recipes are really easy to follow and use everyday ingredients so you won’t spend all day in the kitchen or find yourself going to multiple grocery stores to find crazy unheard of ingredients.
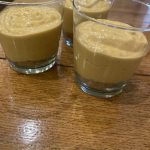
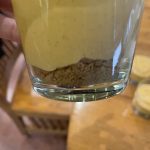
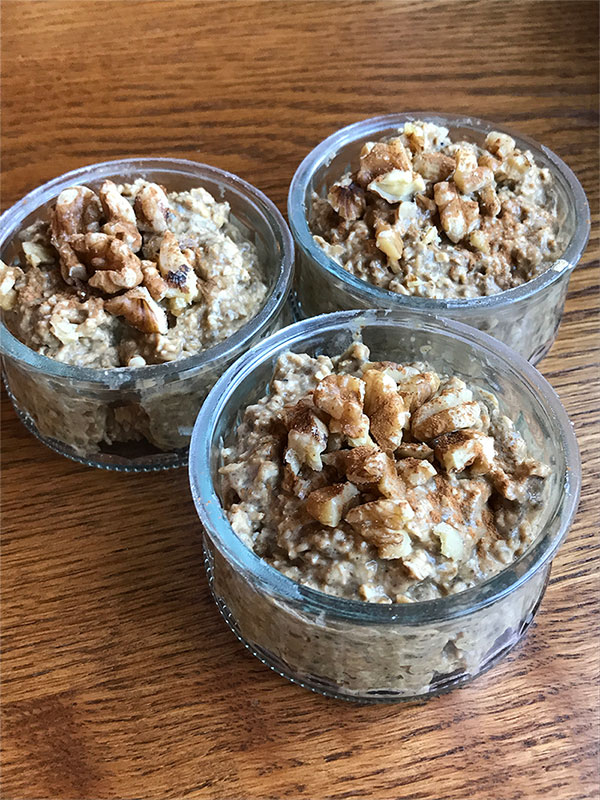
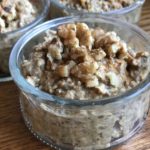
I love the warm spices of ginger, cinnamon and cloves so when I came across this recipe for the Gingerbread Overnight Oats, I was intrigued. Not only did I already have all of the ingredients on hand, it look super easy. Like everyone else, my mornings are a busy and to have something pre-made that I can grab and go saves time, which makes getting out the door a little easier.
This recipe could not be any easier and is super quick as all the ingredients are tossed together in one bowl. I like to double or triple the recipe so I can have extra on hand for the week and then store it in one bigger bowl in the fridge. That way I can just scoop the amount I want in a serving dish or to-go container.
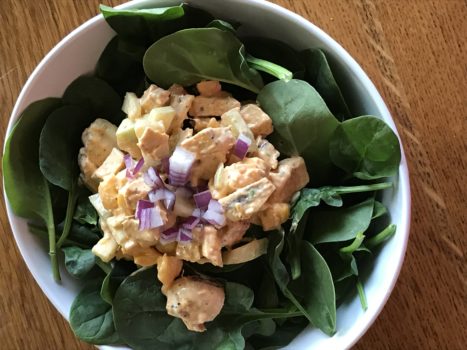
I have also made the Curry Chicken Salad from the cookbook, which came out quite tasty.
Curry Chicken Salad
Other recipes in the book which are on my list to try include; Caramelized Sweet Onion Balsamic Burger, Apple Fries with Creamy Peanut Butter Dip, Lemon Blueberry Ricotta Tarts, Sweet and Spicy Pomegranate Pork Tenderloin along with quite a few others.
What I love about this cookbook is the simplistic approach Devin creates with these recipes. They are easy and flavorful without using a long list of ingredients.
In small mixing bowl combine all ingredients except walnuts. Transfer to serving dish and cover with plastic wrap. Refrigerate overnight. Top with walnuts just before serving.